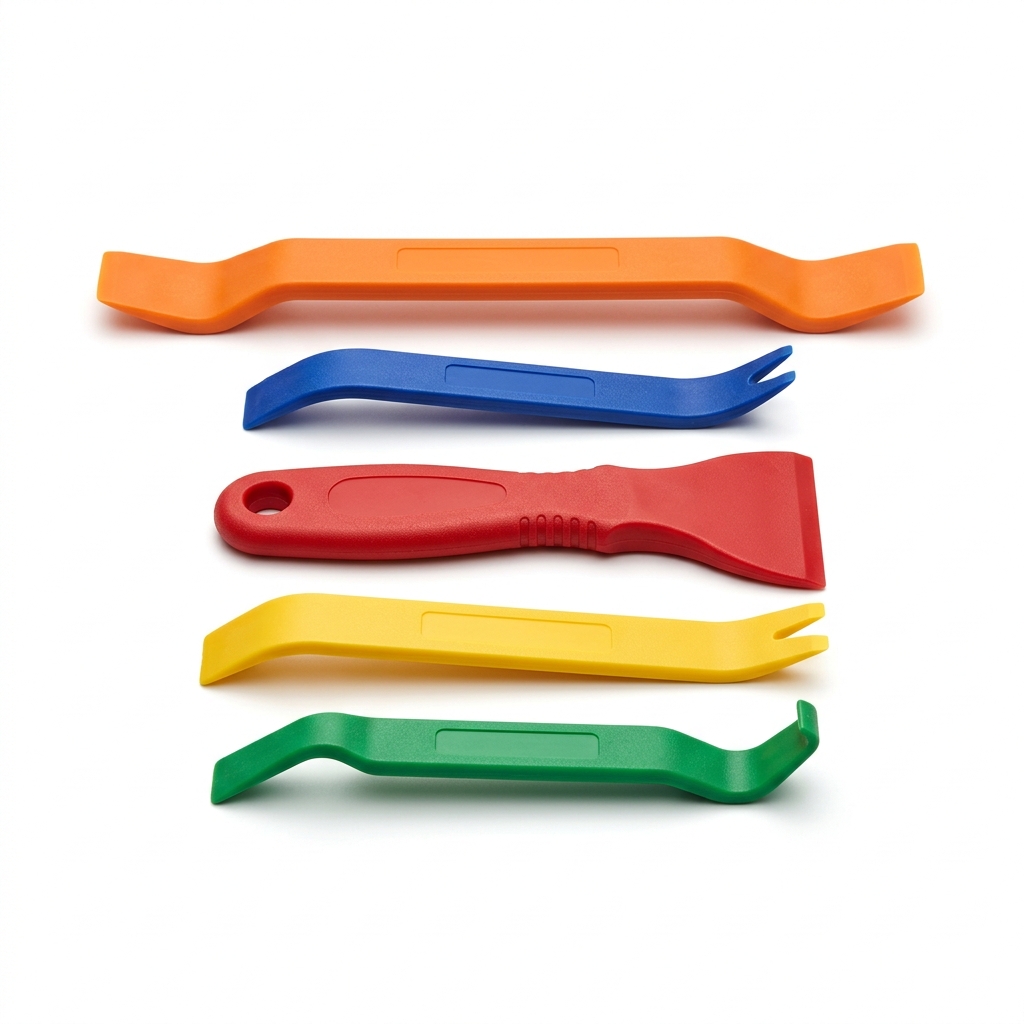
Tools needed
- Spray bottle of water
- Cordless drill with pad (optional)
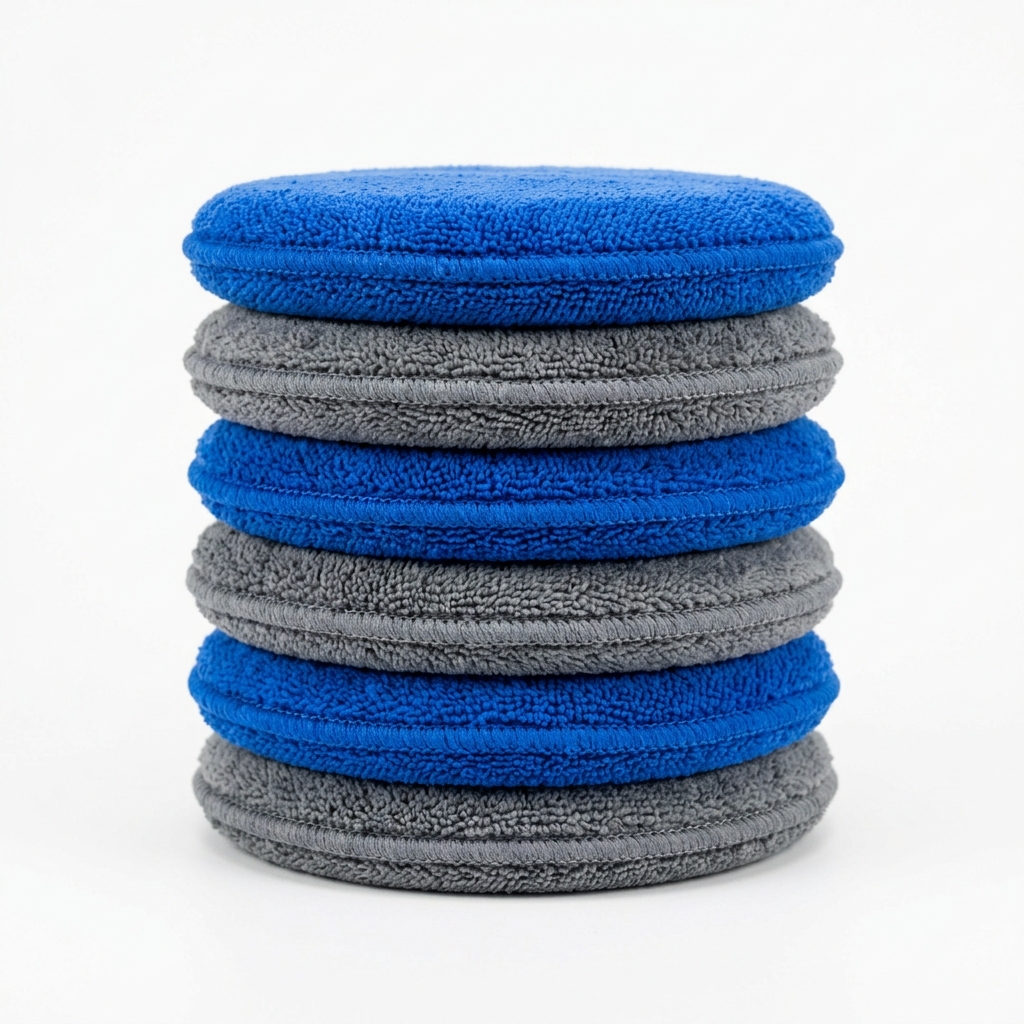
- Microfiber towels
Materials needed
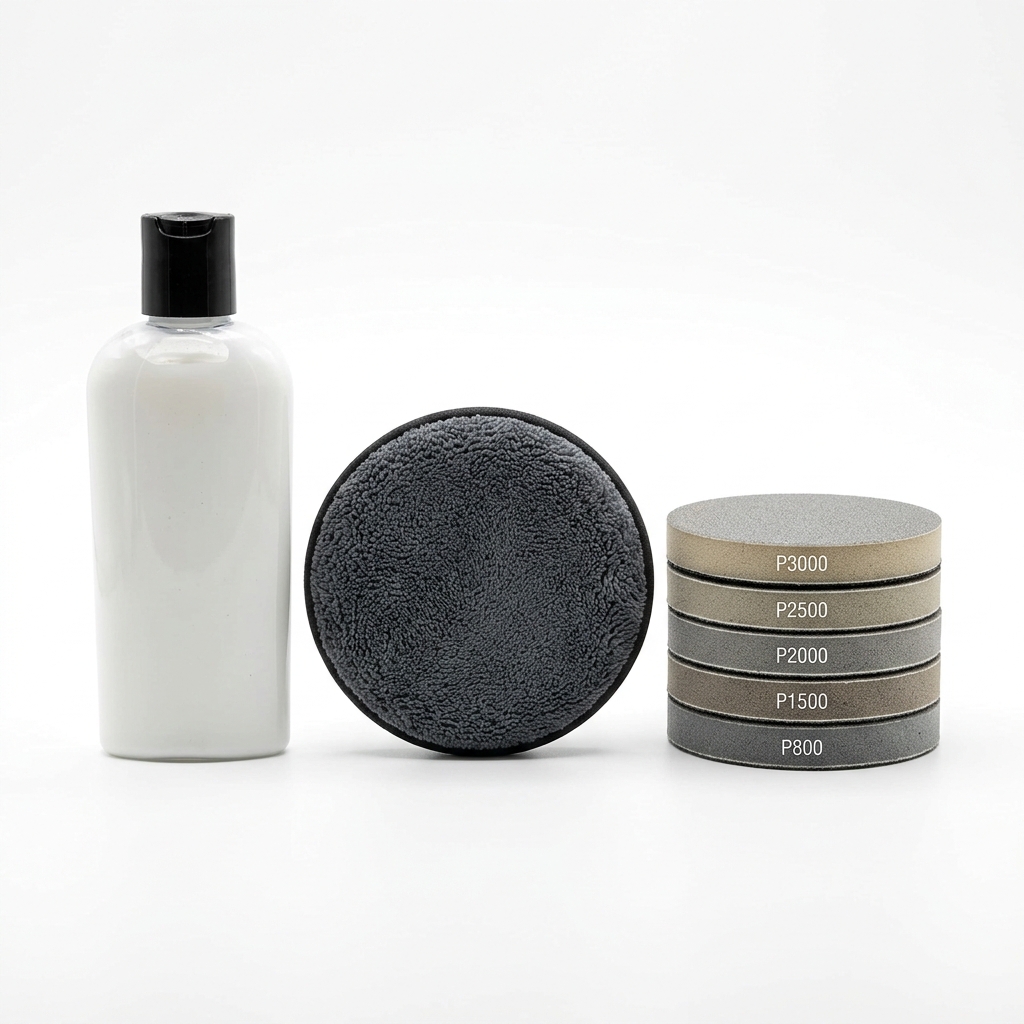
- Headlight restoration kit (sanding grits + UV coat)
- Automotive masking tape
Step-by-step
- 1
Clean the lenses and mask the surrounding paint with tape.
- 2
Wet-sand with the coarsest grit, keeping the surface wet, until the haze is uniform.
- 3
Step through each finer grit, wiping and re-wetting, until the lens looks evenly frosted.
- 4
Dry completely — the lens should be uniformly cloudy with no shiny low spots.
- 5
Wipe with the prep solution, then apply the UV clear coat in thin, even passes.
- 6
Let it cure fully out of direct sun before driving or washing.
Common mistakes
- • Skipping grits and leaving deep scratches
- • Sanding dry and gouging the plastic
- • Touching or washing the fresh coat before it cures
Maintenance & next steps
A UV coat lasts far longer than polish; re-coat only if hazing returns after a couple of years.
When to call a professional
For cracked lenses, internal moisture/condensation, or damaged reflectors.
Editor's note: This is instructional content for How to Fix Foggy Headlights Permanently (Oxidation Removal). Replace with your own firsthand experience and photos before publishing.
This page contains affiliate links. If you purchase through them, we may earn a commission at no additional cost to you.