Tools needed
- Philips screwdriver
- Painter's alignment tape
- Measuring tape
Materials needed
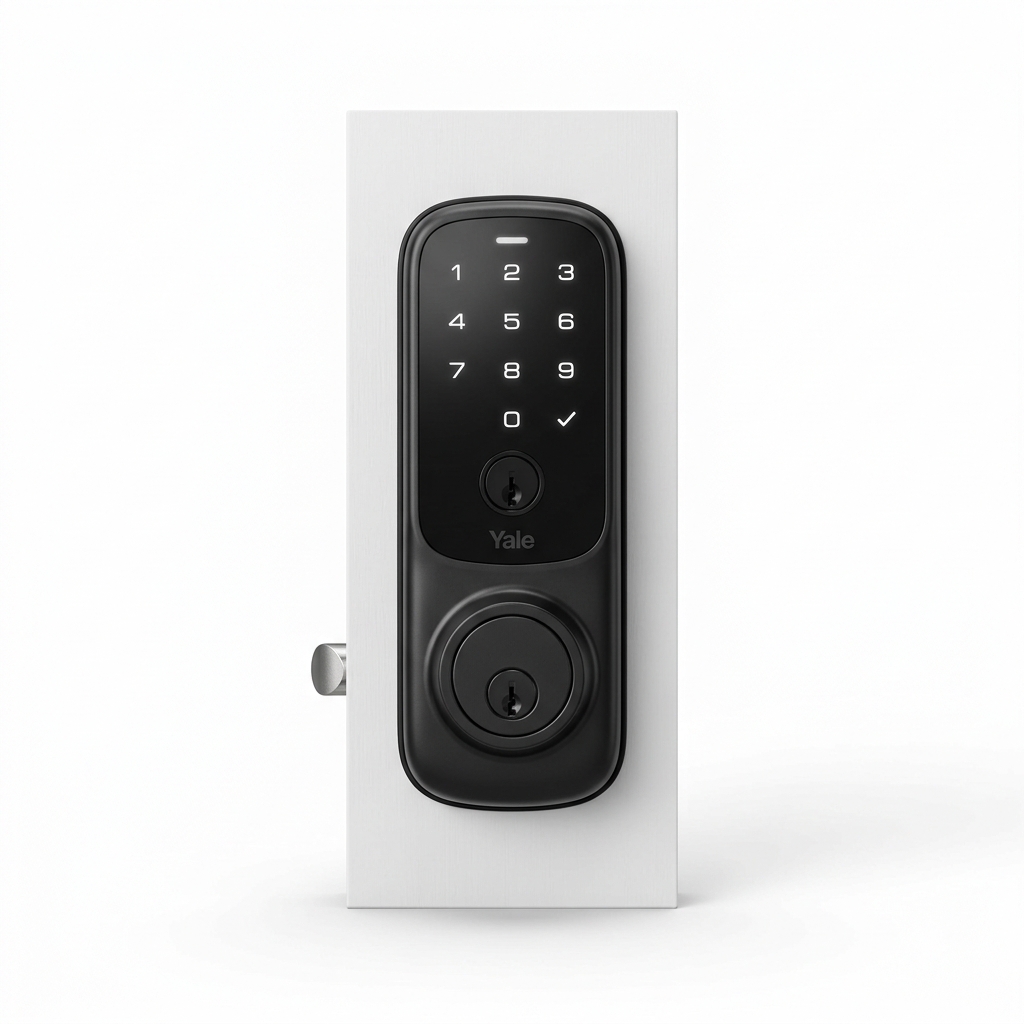
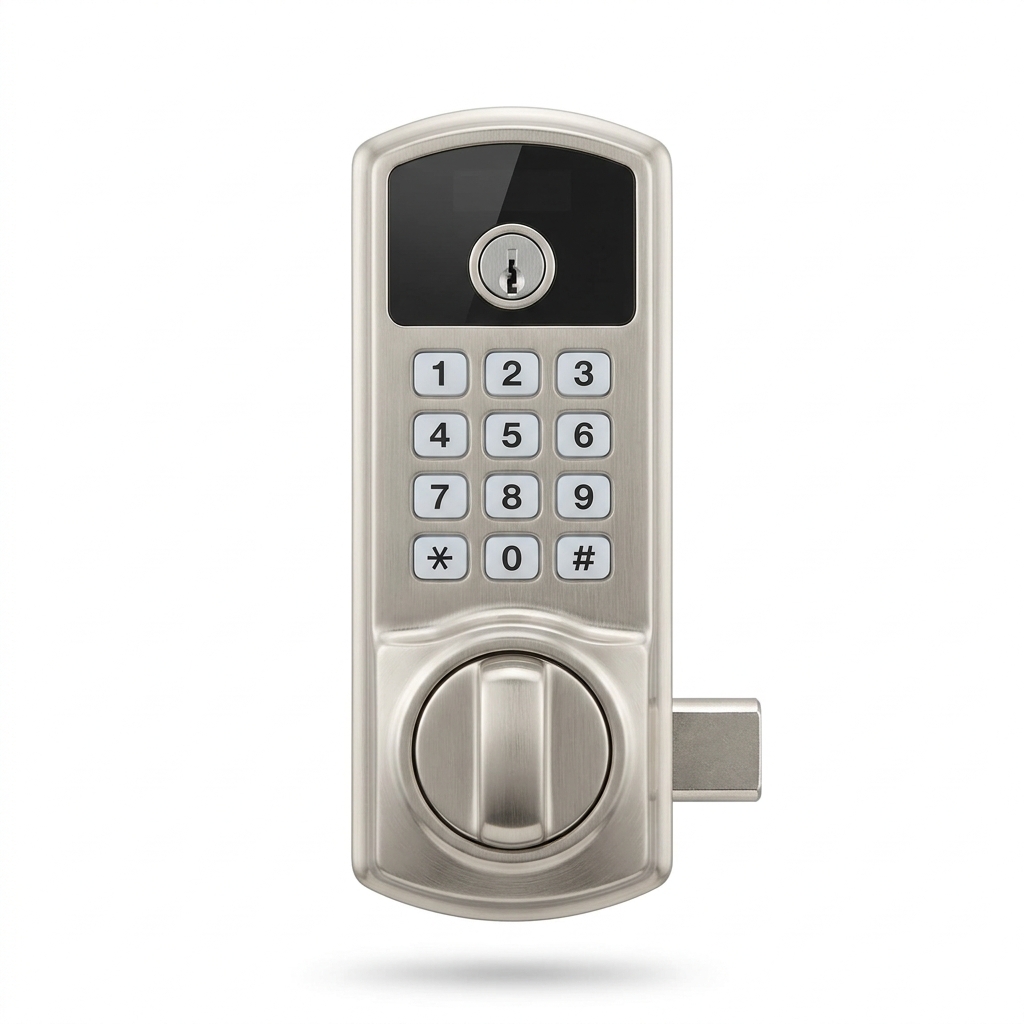
- Smart Wi-Fi deadbolt
- AA batteries
- Door bore template (included)
Step-by-step
- 1
Confirm your door's backset and bore hole match the lock's specs.
- 2
Remove the old deadbolt and strike plate.
- 3
Slide in the new latch and screw the strike plate, using painter's tape to hold alignment.
- 4
Mount the exterior keypad, feed the cable through, and attach the interior assembly.
- 5
Install batteries, then pair the lock to Wi-Fi and create your first entry code in the app.
- 6
Test locking and unlocking from both the keypad and the app before trusting it.
Common mistakes
- • Forcing the latch when the backset is wrong
- • Overtightening screws and binding the bolt
- • Skipping the app firmware update
Maintenance & next steps
Replace batteries when the low-battery alert appears and keep a backup access method handy.
When to call a professional
For a door that won't latch squarely or a badly worn frame that needs rehanging.
Editor's note: This is instructional content for How to Choose and Install a Smart Code Deadbolt Lock. Replace with your own firsthand experience and photos before publishing.
This page contains affiliate links. If you purchase through them, we may earn a commission at no additional cost to you.