Tools needed
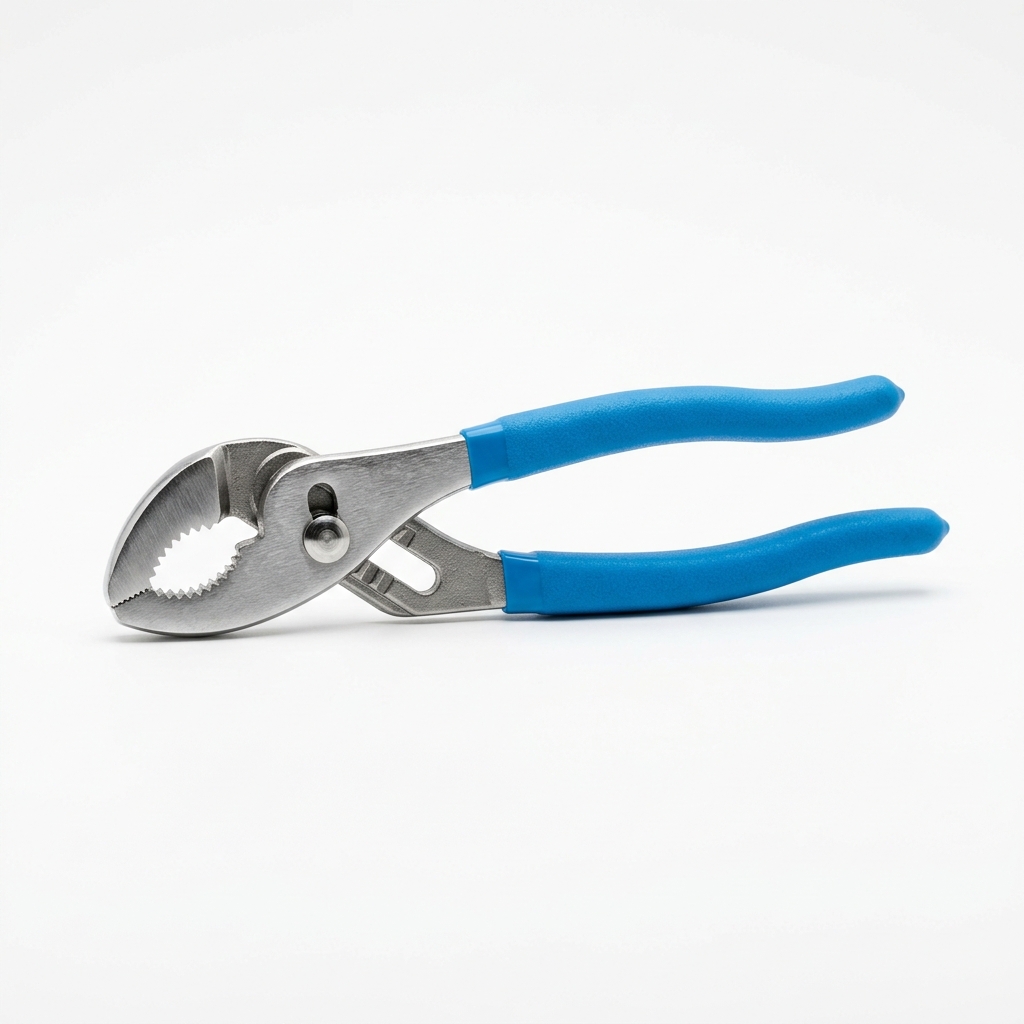
- Adjustable pipe wrench
- Drill (for faucet/drain saddle)
- Bucket
- Teflon tape
Materials needed
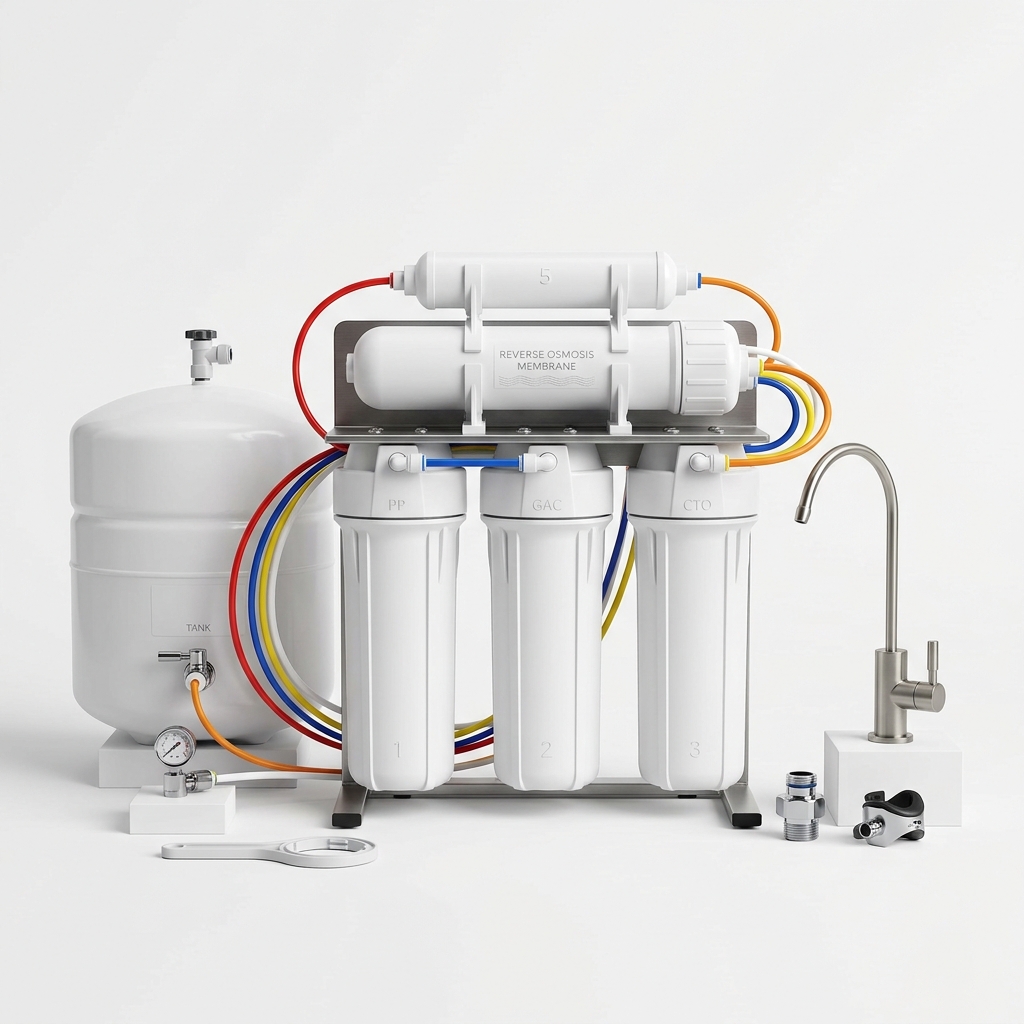
- 5-stage reverse osmosis system
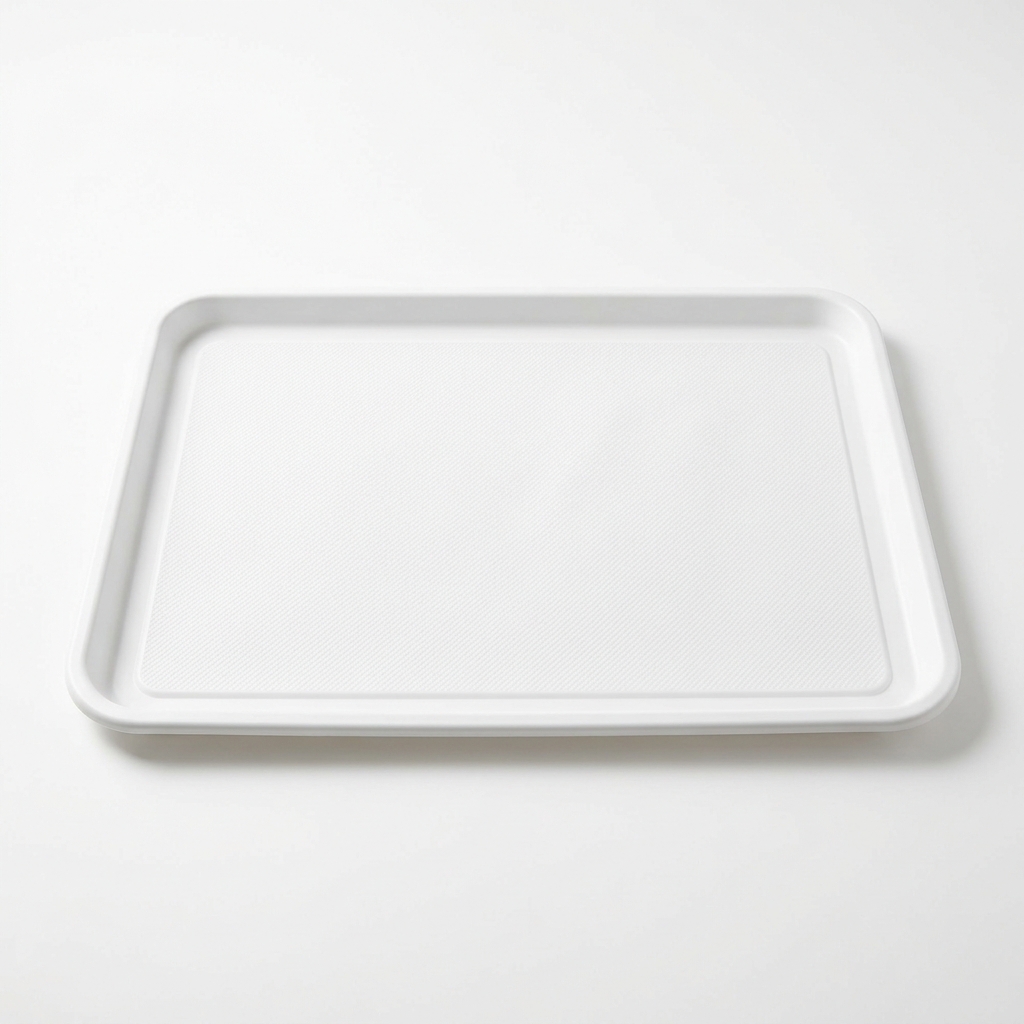
- Under-sink leak mat tray
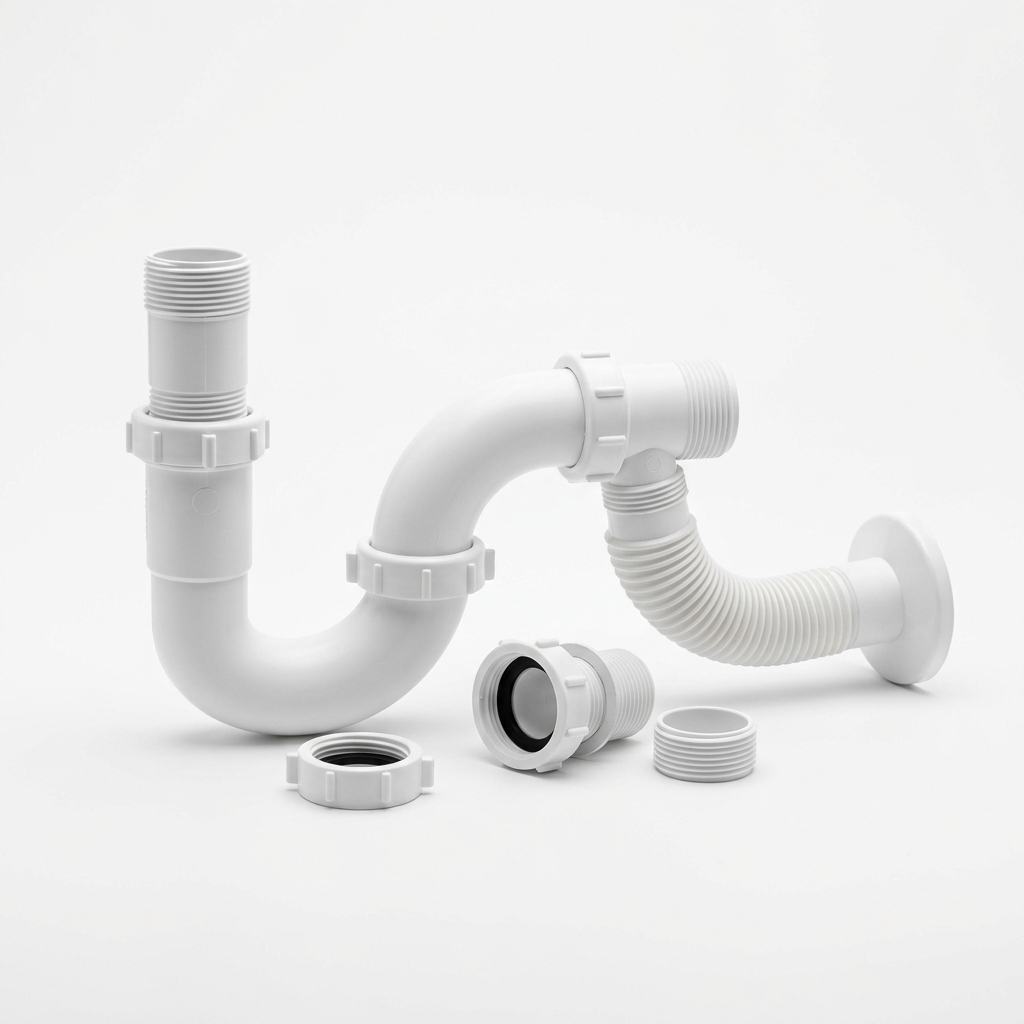
- Supply line and fittings (included)
Step-by-step
- 1
Shut off the cold water supply and relieve pressure at the faucet.
- 2
Install the cold-line feed adapter and the drain saddle clamp per the instructions.
- 3
Mount the filter manifold and the storage tank in the cabinet on a leak mat.
- 4
Install the dedicated RO faucet on the sink or a spare hole, sealing the base.
- 5
Connect the color-coded tubing between feed, membrane, tank, drain, and faucet.
- 6
Open the supply slowly, check every joint for leaks, flush the system, and discard the first tank or two.
Common mistakes
- • Cross-threading the fittings or skipping Teflon tape
- • Reversing the tubing connections
- • Not flushing the membrane before drinking
Maintenance & next steps
Change the sediment/carbon pre-filters about every 6–12 months and the membrane every few years.
When to call a professional
For hard-plumbed drain modifications, no accessible shutoff, or low feed pressure needing a booster pump.
Editor's note: This is instructional content for How to Install an Under-Sink Reverse Osmosis Water Filter. Replace with your own firsthand experience and photos before publishing.
This page contains affiliate links. If you purchase through them, we may earn a commission at no additional cost to you.