Tools needed
- Non-contact voltage tester pen
- Screwdriver set
- Drill
- Ladder
Materials needed
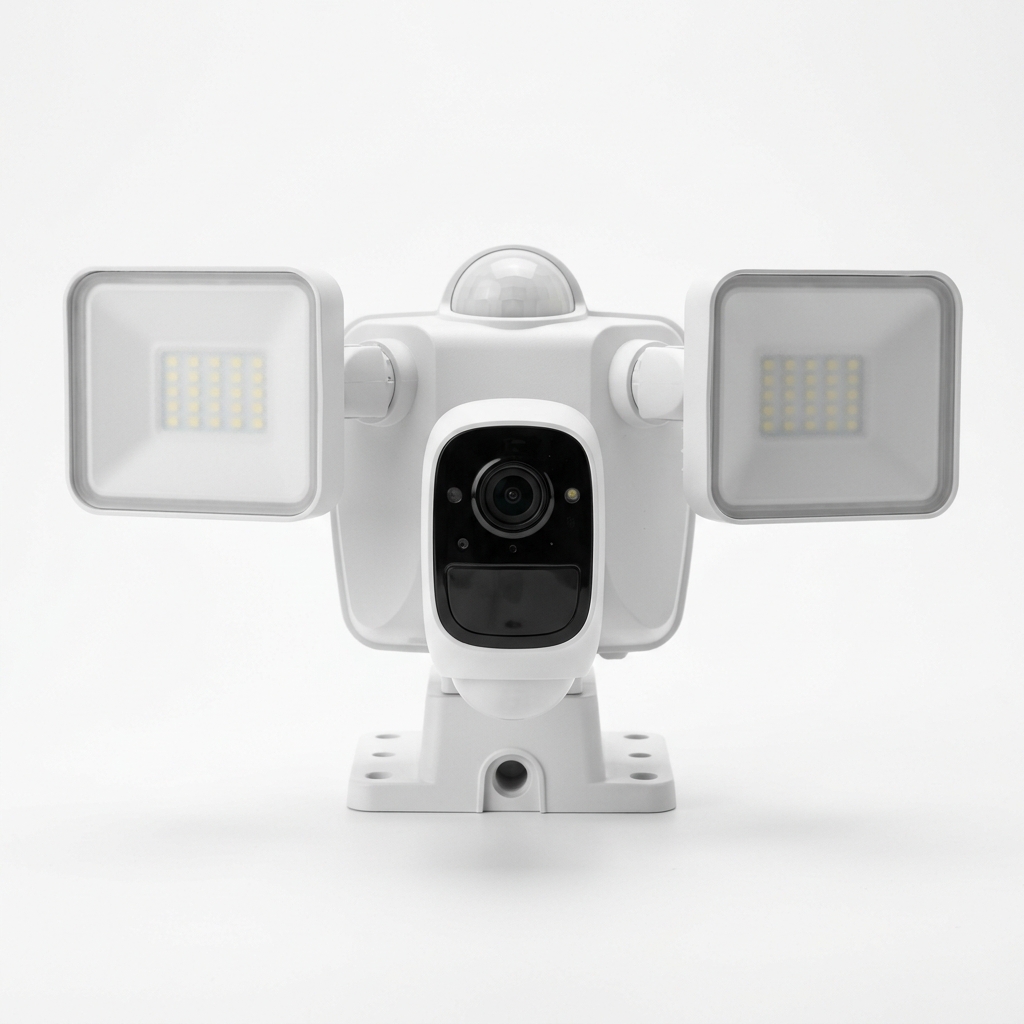
- Google Nest Cam with Floodlight
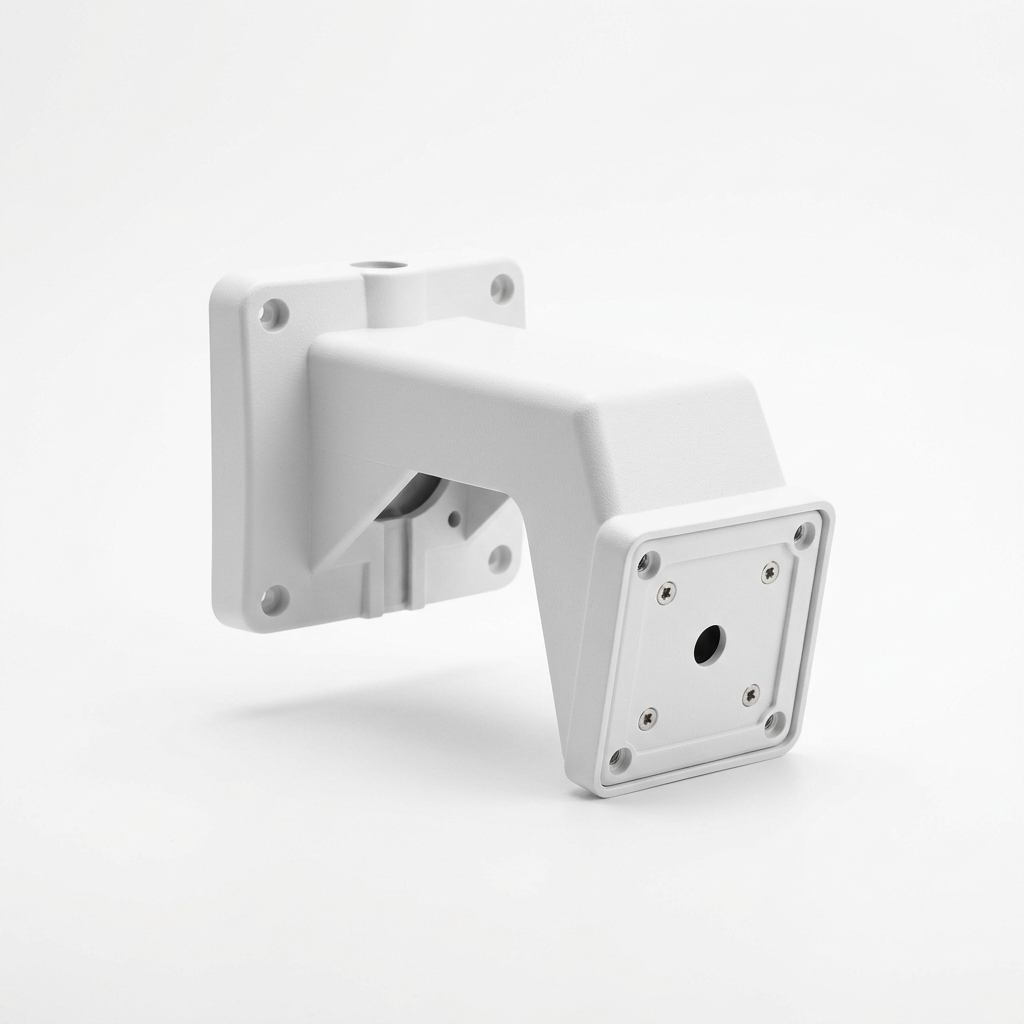
- 90-degree soffit mount adapter
- Wire nuts
- Waterproof exterior silicone caulk
Step-by-step
- 1
Kill the circuit at the breaker and confirm the soffit fixture is dead with a voltage tester.
- 2
Remove the existing under-eave light and note the line, neutral, and ground wires.
- 3
Mount the 90-degree adapter box so the camera face will point outward, not down.
- 4
Connect like-colored wires with wire nuts and tuck them into the adapter box.
- 5
Attach the floodlight camera to the adapter, restore power, and complete Wi-Fi setup in the app.
- 6
Caulk the top edges of the adapter against the soffit, leaving the bottom open to drain.
Common mistakes
- • Mounting flat to the soffit so the camera only sees the ground
- • Working on a live circuit
- • Sealing the bottom edge and trapping condensation
Maintenance & next steps
Clean the lens and flood lenses twice a year and re-check motion zones in the app seasonally.
When to call a professional
For any uncertainty about the circuit, aluminum wiring, or no existing junction box in the soffit.
Editor's note: This is instructional content for How to Install a Google Nest Floodlight Camera on a Soffit (90-Degree Elbow Hack). Replace with your own firsthand experience and photos before publishing.
This page contains affiliate links. If you purchase through them, we may earn a commission at no additional cost to you.