Tools needed
- Heavy-duty utility knife
- Tape measure
- Straightedge
Materials needed
- Rigid foam insulation board
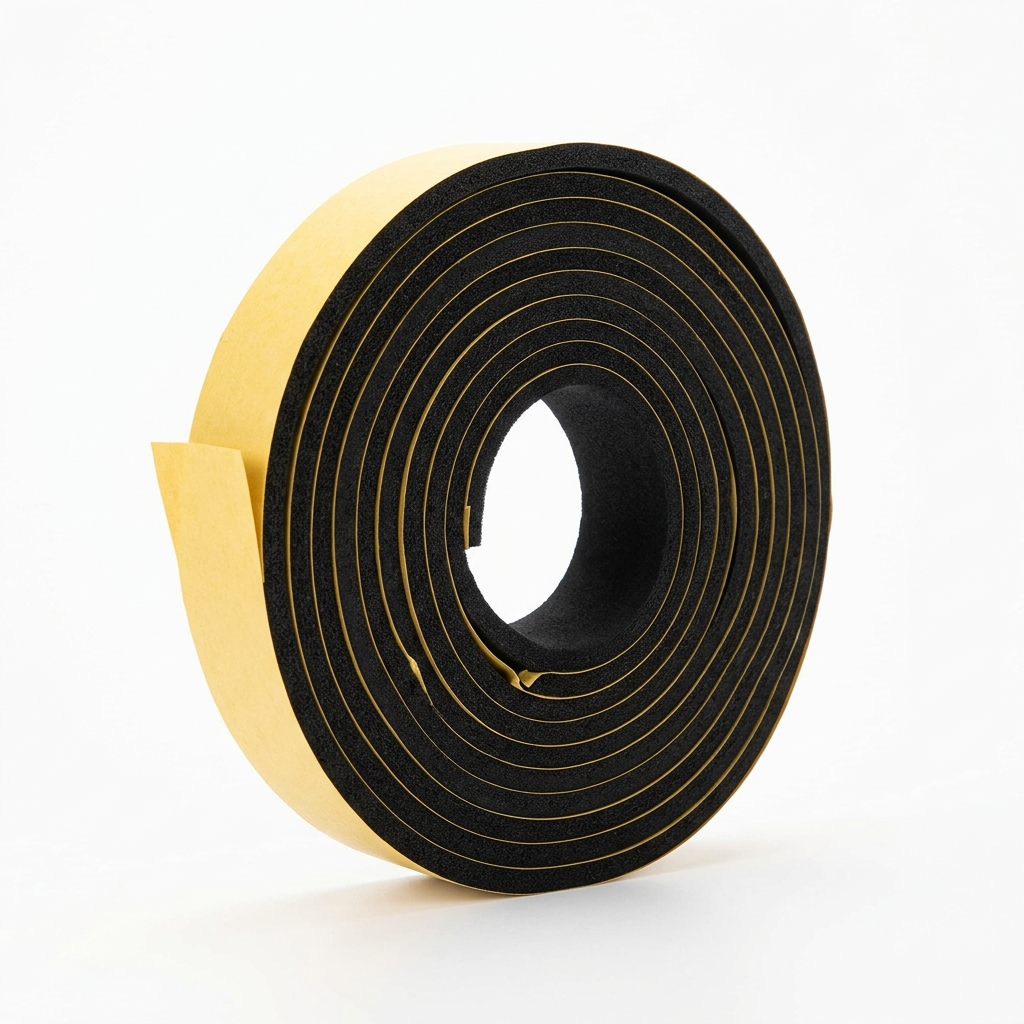
- Adhesive foam weatherstripping tape
- Construction adhesive
Step-by-step
- 1
Measure the hatch panel and cut rigid foam to match, stacking layers for more R-value.
- 2
Adhere the foam to the attic side of the hatch with construction adhesive.
- 3
Clean the frame lip and apply foam weatherstripping tape all the way around.
- 4
Close the hatch to check the gasket compresses and seals evenly.
- 5
Add a simple latch or hook if the hatch doesn't sit tight against the gasket.
- 6
Verify the panel still opens and closes without crushing the foam.
Common mistakes
- • Leaving gaps at the corners of the gasket
- • Making the foam stack so thick the hatch won't close
- • Blocking any required attic ventilation
Maintenance & next steps
Re-check the gasket yearly; replace it if it compresses flat or peels.
When to call a professional
For pull-down attic stairs needing a sealed insulated tent, or knob-and-tube wiring nearby.
Editor's note: This is instructional content for How to Insulate Attic Hatch Doors and Access Panels. Replace with your own firsthand experience and photos before publishing.
This page contains affiliate links. If you purchase through them, we may earn a commission at no additional cost to you.