Tools needed
- Screwdriver set
- Metal snips
- Caulk gun
- Vacuum
Materials needed
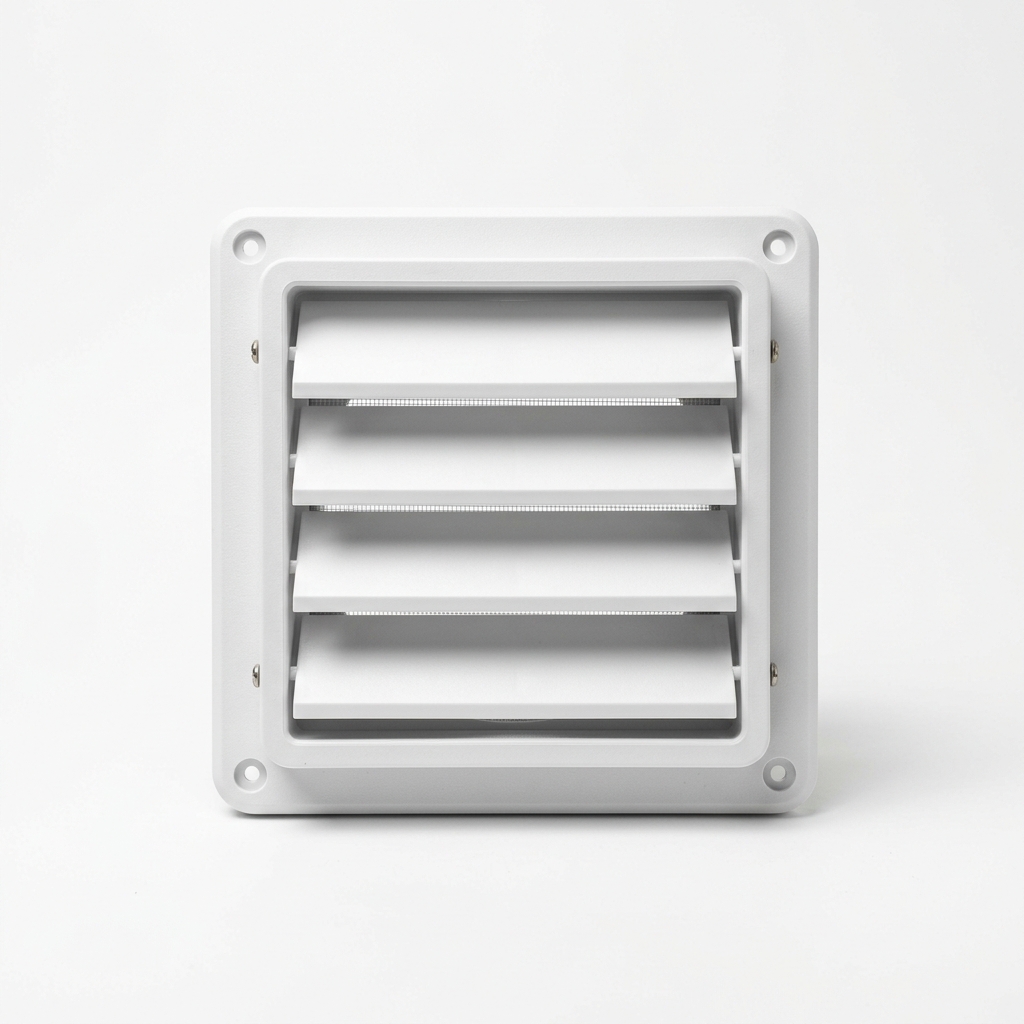
- Louvered dryer vent wall cap
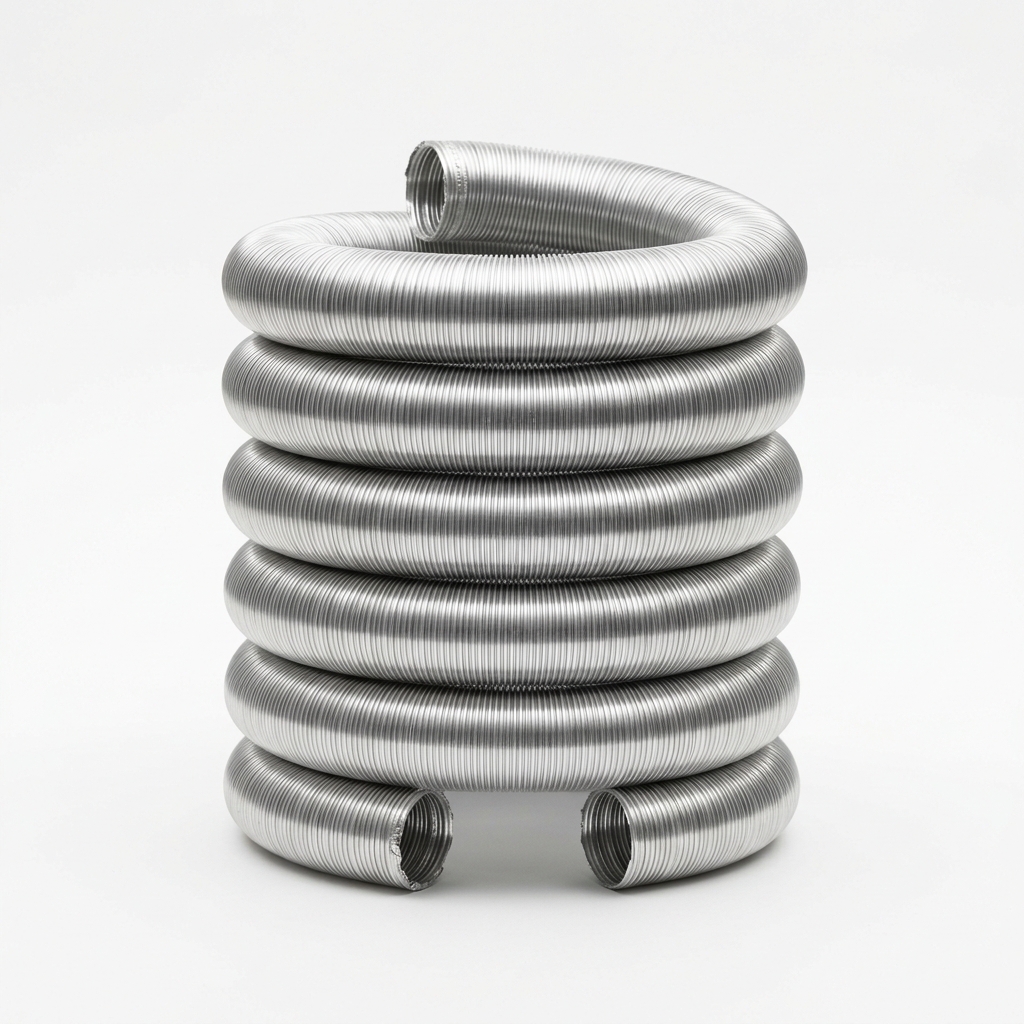
- Semi-rigid aluminum dryer duct
- Worm-gear clamps
- Exterior caulk
Step-by-step
- 1
Unplug the dryer and pull it out to reach the duct connection.
- 2
Remove the old wall cap from outside and detach the damaged duct.
- 3
Vacuum lint from the duct run and the wall penetration.
- 4
Fit the new semi-rigid aluminum duct and secure both ends with worm-gear clamps (no screws into the duct interior).
- 5
Mount the new louvered cap outside and caulk its perimeter, leaving the louvers free to swing.
- 6
Reconnect, push the dryer back, and run it to confirm the flaps open with airflow.
Common mistakes
- • Using screws that snag lint inside the duct
- • Crushing or kinking the flexible duct behind the dryer
- • Sealing the louvers shut with caulk
Maintenance & next steps
Clean the duct and check the flaps open freely at least once a year.
When to call a professional
For long or interior duct runs through walls/roofs, or any gas-dryer connection concerns.
Editor's note: This is instructional content for How to Replace a Broken Dryer Vent Wall Cap and Duct. Replace with your own firsthand experience and photos before publishing.
This page contains affiliate links. If you purchase through them, we may earn a commission at no additional cost to you.