Tools needed
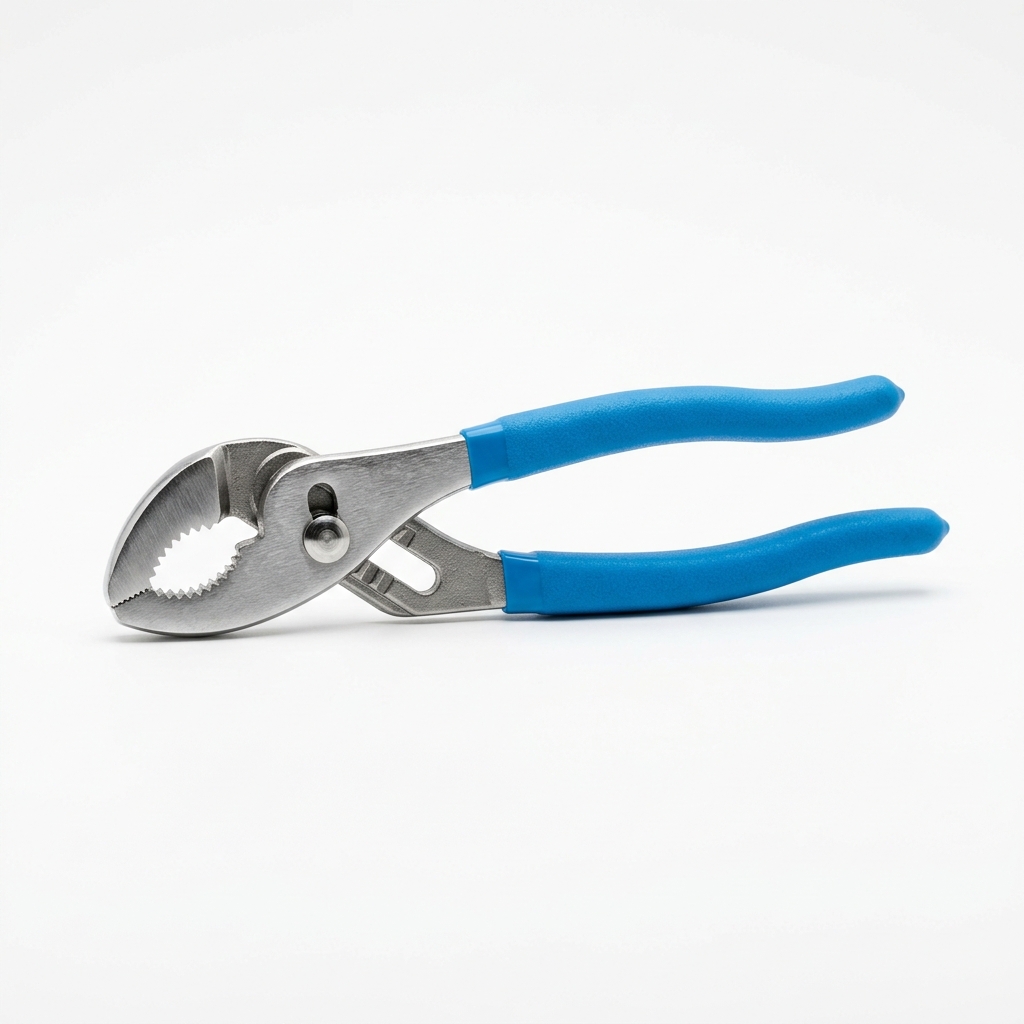
- Mini channel-lock pliers
- Sponge
- Towel
Materials needed
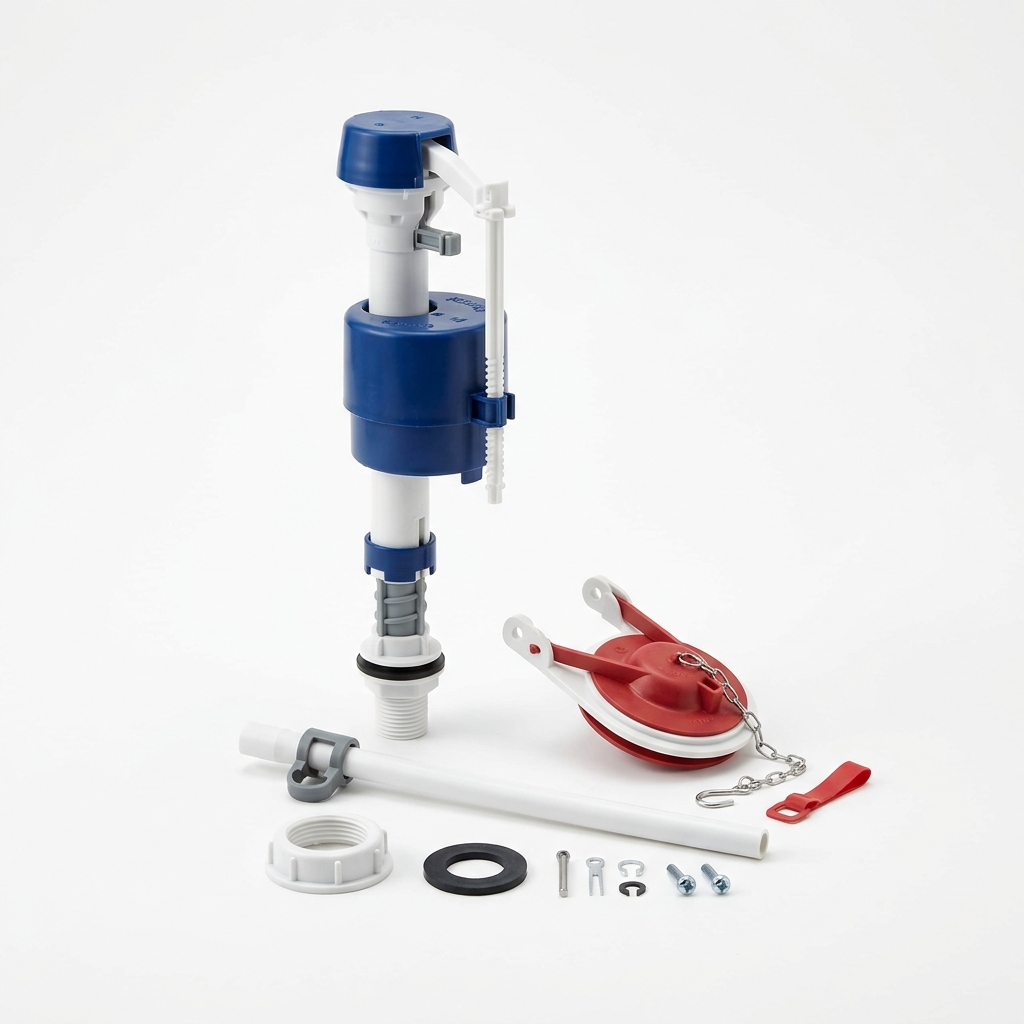
- Toilet fill valve and flapper repair kit
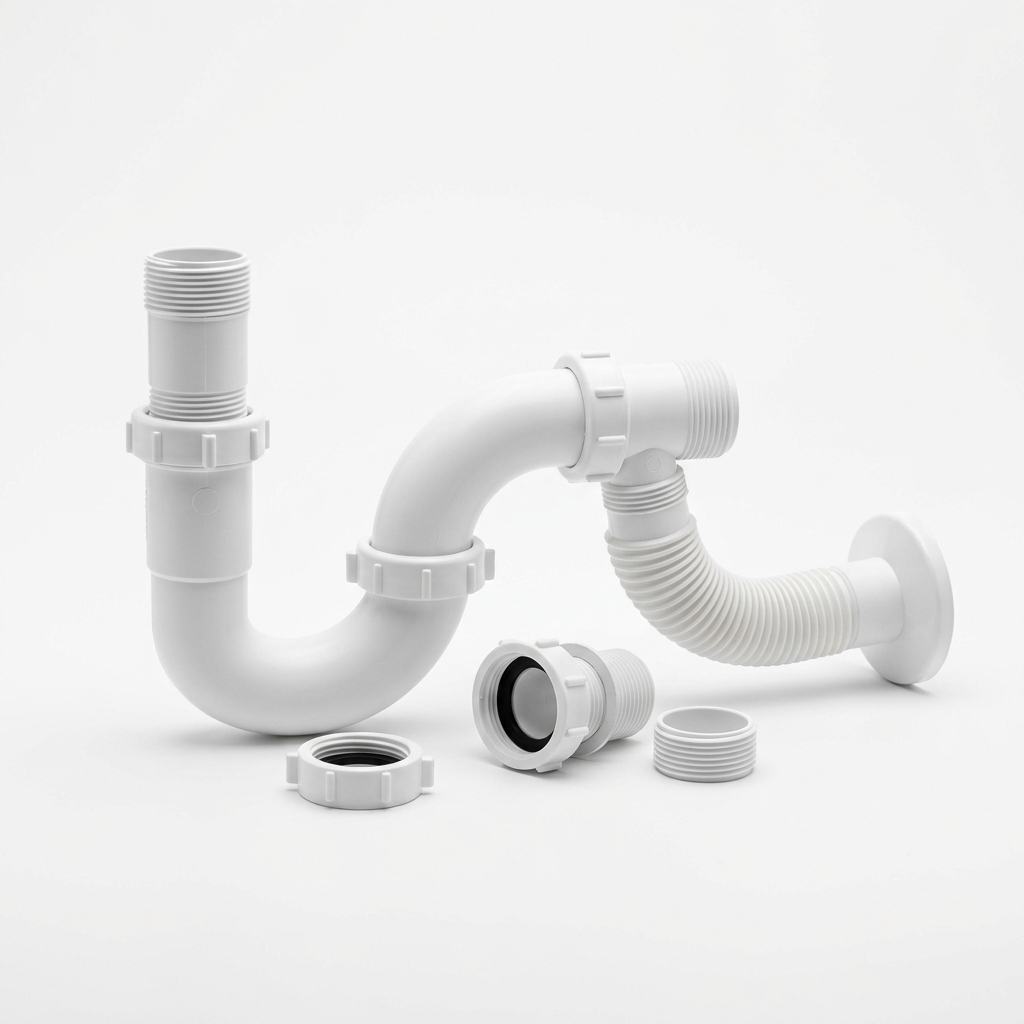
- Replacement supply line (optional)
Step-by-step
- 1
Shut off the supply valve and flush to empty the tank, then sponge out the rest.
- 2
Disconnect the supply line and unscrew the old fill valve locknut from below.
- 3
Lift out the old fill valve and unclip the worn flapper.
- 4
Install the new fill valve, setting its height to the marked tank level, and snug the locknut.
- 5
Clip on the new flapper and attach the chain with a little slack.
- 6
Turn the water on, let it fill, and adjust the float and chain until it stops cleanly with no run.
Common mistakes
- • Overtightening the plastic locknut and cracking it
- • Leaving too much or too little chain slack
- • Setting the water level above the overflow tube
Maintenance & next steps
If you hear it cycle on its own (a 'phantom flush'), the flapper is leaking and needs reseating.
When to call a professional
For a cracked tank, a corroded shutoff valve that won't close, or a leaking tank-to-bowl gasket.
Editor's note: This is instructional content for How to Replace a Leaking Toilet Fill Valve and Flapper. Replace with your own firsthand experience and photos before publishing.
This page contains affiliate links. If you purchase through them, we may earn a commission at no additional cost to you.