The Autumn Pruning Trap
Pruning a living tree branch simulates growth. When you cut away a limb, the tree reacts by sending immediate hormonal signals to heal the wound and sprout new shoots. In September and October, these warm autumn afternoons encourage weak, tender new branch growth.
This fresh growth does not have enough time to harden off before the ground temperatures collapse. When the first hard winter frost strikes, these soft, un-insulated cell walls freeze, rupture, and die back into the main trunk. Furthermore, autumn is the peak sporulation season for wood-decaying fungi and airborne pathogens. Pruning leaves fresh, wet open wounds on the trunk line precisely when the tree's natural immune system is shutting down for winter dormancy, creating an unrestricted highway for disease and rot.
The golden rule of tree care is to save elective structural pruning and shaping for late winter or early spring dormancy, typically between January and March. During dormancy, sap flow is minimized, disease spores are inactive, and the tree can cleanly seal its cut boundaries the moment spring sap begins to move.
The Critical Exceptions: The Three Ds
The absolute only tree trimming allowed in October is restricted to branches that meet the criteria of being Dead, Damaged, or Diseased. Leaving structurally compromised limbs hanging over autumn creates an immediate safety risk. Heavy winter snow loads and wind gusts will snap these weak branches, dropping them onto roofs, vehicles, or power lines.
To safely manage deadwood without harming healthy tissue, use compact hand tools for twigs and wide-jaw mechanical trimmers for heavier limbs. Avoid tearing the bark at all costs, as clean cuts seal faster.
Why Autumn is Ideal for Moving Trees
While cutting branches back in October damages trees, moving them is highly beneficial. Early autumn is the absolute best time of year to plant new trees or transplant existing shrubs from crowded landscape beds.
When you transplant a tree, the ultimate goal is rapid, undisturbed root development before the frost line locks the soil profile. The atmospheric conditions of October create a perfect environment for root development:
- Cooler Atmospheric Conditions: The lower autumn air temperatures reduce leaf transpiration, meaning the leaves draw less moisture up from the root system, drastically reducing transplant shock.
- Warm Soil Temperature: Soil retains its summer warmth much longer than the surface air. This warm, moist earth encourages rapid underground root filament growth.
- Winter Root Growth: While the top of the tree stops growing leaves and prepares for winter sleep, the root network underground continues to actively grow and secure itself right up until the ground freezes solid.
By transplanting now, the tree gets a six-to-eight-week head start on root development, allowing it to easily absorb spring water and withstand summer droughts next year.
Tools needed
- Bypass pruning shears (for dead twigs)
- Bypass loppers (for heavier deadwood)
- Hedge shears
- Heavy-duty straight-handle digging shovel
- 2-in-1 pickaxe & hoe
Materials needed
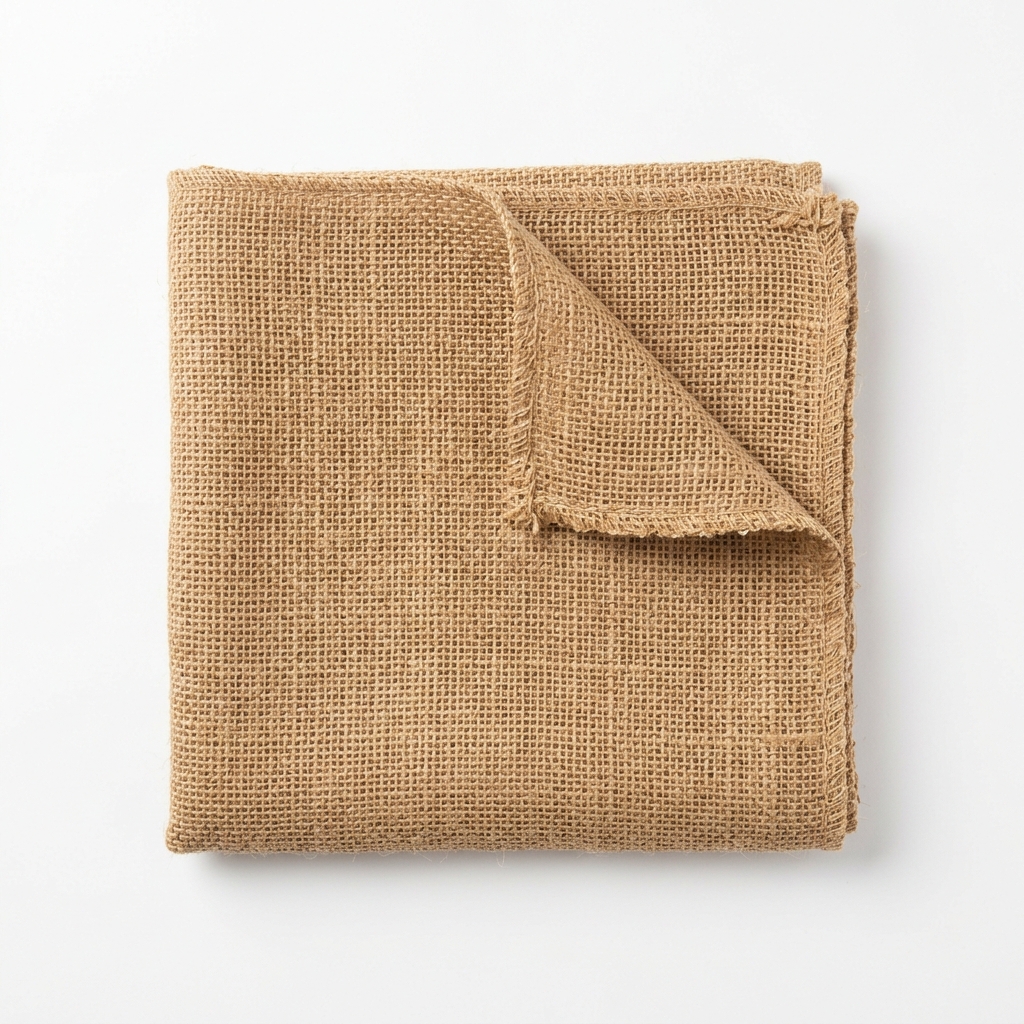
- Natural burlap squares
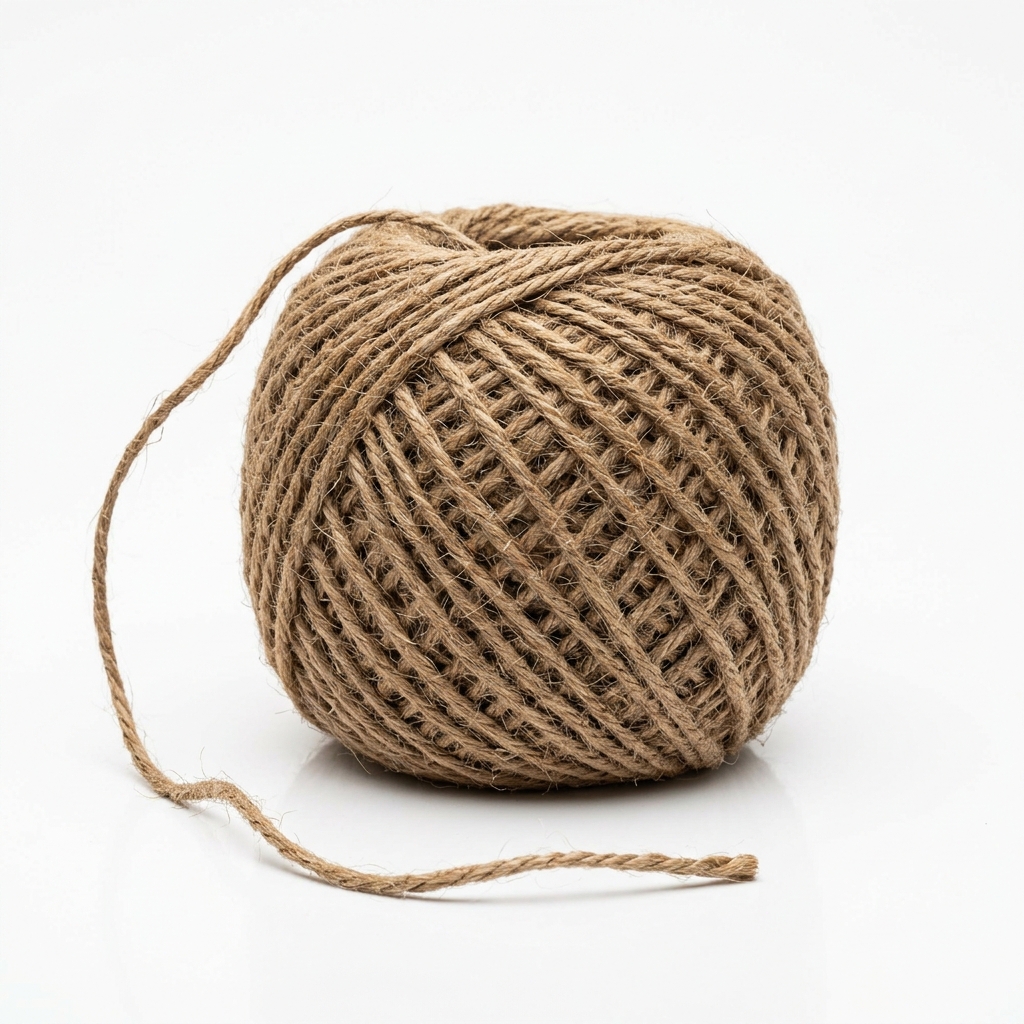
- Utility twine
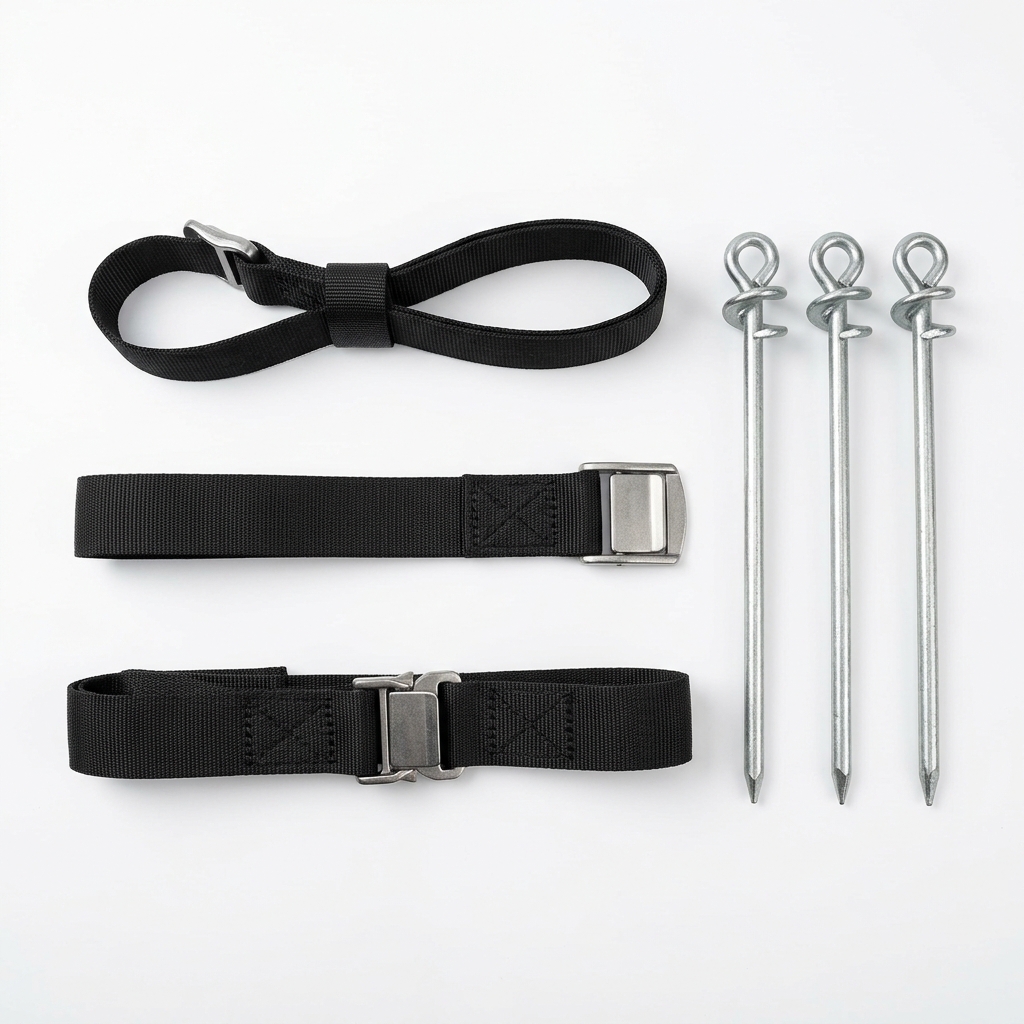
- Tree staking kit (for taller trees)
Step-by-step
- 1
Prep the Destination Site: Select your new location based on the adult canopy size of the specific tree variety. Dig the destination hole using a heavy-duty straight-handle steel tool. The hole must be dug three times wider than the root ball you are moving, but it must be exactly the same depth. Digging too deep causes the tree to settle, burying the root flare and suffocating the lower trunk bark.
- 2
Extract the Root Ball: Measure the thickness of the tree trunk. For every inch of trunk diameter, you need to harvest at least 12 inches of root ball width. Use a sharp, rounded tool to slice a clean circle around the tree. Dig straight down to clear the major lateral root systems, then use a leveraged pickaxe or hoe tool to wedge underneath the center core, breaking the taproot cleanly without loosening the dirt profile.
- 3
Wrap and Transport: To prevent the root ball from drying out or splitting apart during the move, tilt the tree base and slide a natural burlap square underneath the root mass. Wrap the fabric tightly around the soil base and secure it with utility twine. Carefully lift the bundle out of the hole from the bottom—never pull or lift a tree by its main upper trunk line, as this tears the internal vascular cambium layer.
- 4
Position and Backfill: Lower the wrapped root ball into the center of your wide destination hole. Check that the trunk flare sits exactly level with, or slightly higher than, the surrounding lawn line. Slice away the utility twine and pull the burlap back down into the base of the hole; natural burlap will decompose cleanly in the soil. Fill the hole back up using the native soil you originally dug out. Do not add commercial potting soils or amendments into the hole, as this tricks the roots into staying inside the soft hole pocket instead of expanding out into the hard native yard.
- 5
Flood and Stabilize: Step firmly around the dirt ring to settle any hidden air pockets. Do not fertilize a fall transplant; fertilizer forces weak canopy leaf growth when the tree must focus 100% of its remaining energy underground. Flood the base with water immediately after planting to pack the soil line. Continue to apply a deep, slow soaking once per week right up until the ground freezes solid. For taller trees exposed to winter winds, secure a multi-strap tree staking kit to keep the root ball steady while the new anchors cement themselves.
Slice a clean circle, lever the taproot free from underneath, then wrap the root ball in burlap for transport.
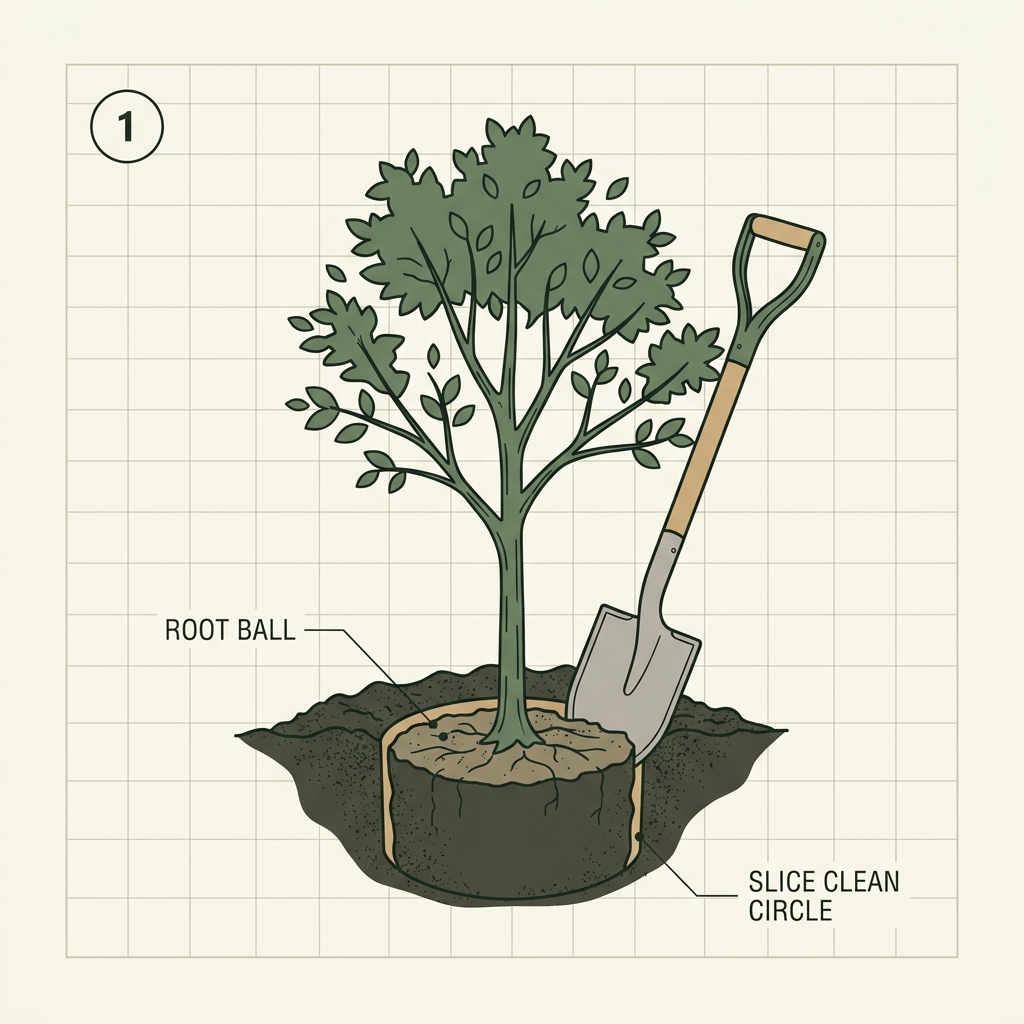
Slicing a clean circle around the tree to define the root ball
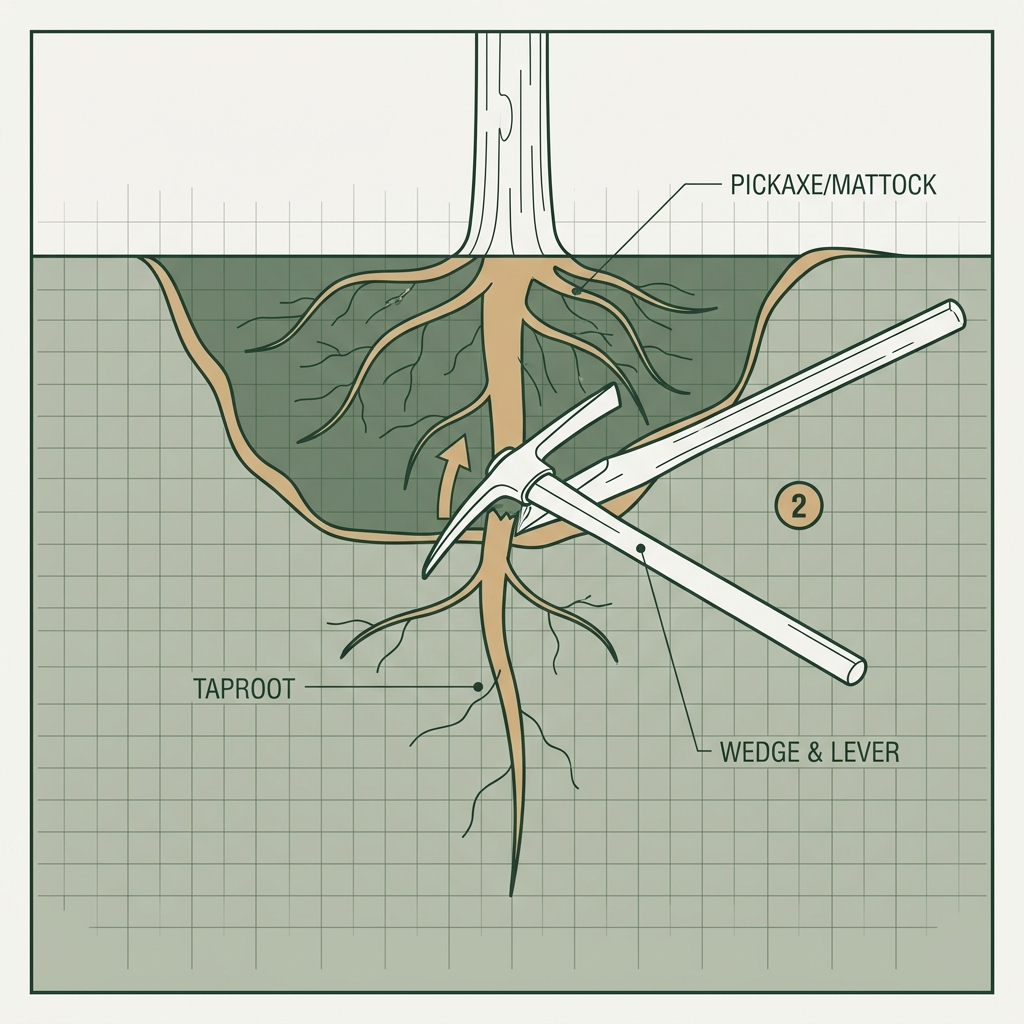
Wedging a pickaxe under the center to lever and sever the taproot
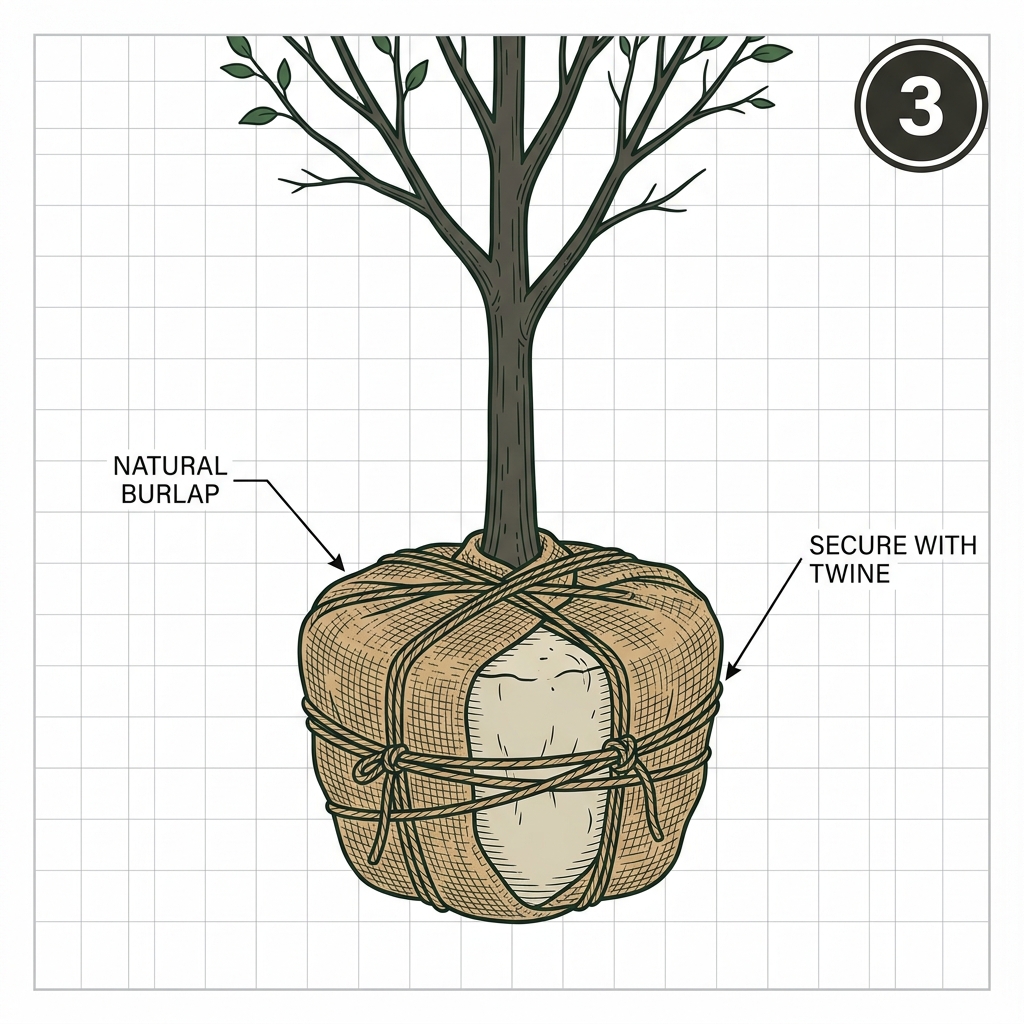
Root ball wrapped in natural burlap and secured with twine
Common mistakes
- • Doing elective structural pruning in fall — it forces tender growth that freezes and dies back, and opens fresh wounds to wood-decaying fungi.
- • Digging the planting hole too deep, which buries the root flare and suffocates the lower trunk bark.
- • Lifting or pulling the tree by its upper trunk, which tears the internal vascular cambium layer.
- • Adding potting soil or amendments to the hole instead of native soil, trapping the roots in the pocket.
- • Fertilizing a fall transplant, which forces weak canopy growth instead of critical root development.
Maintenance & next steps
Water the transplant with a deep, slow soaking once per week right up until the ground freezes solid, then resume in spring. Do not fertilize until the following spring, and keep any staking straps on through the first winter until the new roots anchor.
For large or tall trees near structures or power lines, or any limb you cannot reach safely from the ground.